How to Transplant Mint: A Comprehensive Guide
Introduction
Mint is a wonderfully aromatic herb that adds flavor to drinks, dishes, and desserts. If you’ve ever grown mint, you know how quickly it can spread, which may prompt you to consider transplanting mint to keep it manageable and healthy. In this guide, we’ll cover everything you need to know about how to successfully transplant mint. Whether you’re moving it from one pot to another or rehoming it in your garden, we’ve got you covered!
Why Transplant Mint?
Transplanting mint is essential for several reasons. First, mint can become invasive if left unchecked. By transplanting it, you can control its growth and keep your garden tidy. Second, mint plants benefit from fresh soil and nutrients, especially if they have been in the same pot for too long. Finally, transplanting allows you to propagate mint, ensuring a continuous supply of this versatile herb.
When to Transplant Mint?
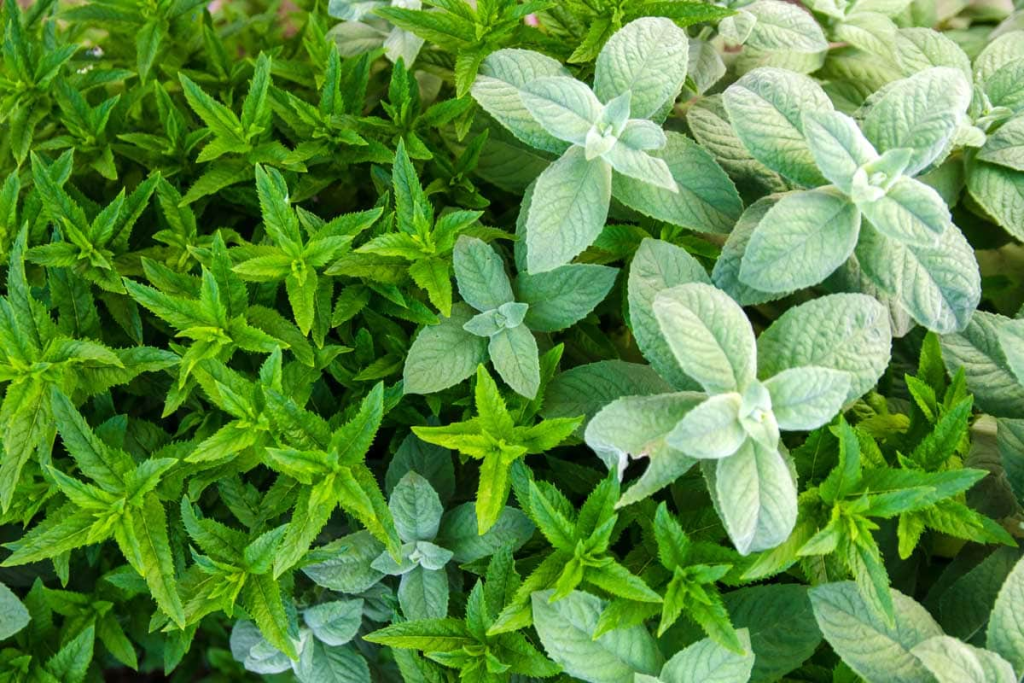
Timing is key when it comes to transplanting mint. The best time to do this is during the spring or early fall when temperatures are mild. Mint prefers cooler weather and can struggle in extreme heat. If you’re transplanting mint that has outgrown its pot, try to do it early in the day or late in the afternoon to avoid stressing the plant during peak sunlight hours.
Choosing a Pot/Container
When selecting a pot for your mint, there are a few considerations:
- Size: Mint plants need room to spread their roots. Choose a pot that is at least 12 inches wide and deep.
- Material: Terracotta pots are great because they allow for good drainage. However, plastic pots can retain moisture better, which is essential for mint.
- Drainage Holes: Ensure your pot has adequate drainage holes. Mint doesn’t like sitting in water, so proper drainage is crucial.
- Mobility: If you plan to move your mint indoors or outdoors, consider lightweight options or pots with handles.
While we’re discussing pots, you might want to check out our article on easy vegetables to grow in pots for more container gardening tips.
Step-by-Step Process to Transplant Mint
Transplanting mint can seem daunting, but it’s a straightforward process. Here’s a step-by-step guide to help you along the way.
Step 1: Gather Your Materials
Before you start the process, gather all the necessary materials:
- A new pot with drainage holes
- Fresh potting soil
- A shovel or trowel
- Water
- Gardening gloves (optional)
Step 2: Prepare the New Pot
Fill the new pot with fresh potting soil. Make sure to leave some space at the top for watering. Mix in some compost or worm castings to enrich the soil, which will help your mint thrive.
Step 3: Remove the Mint from Its Current Pot
Gently turn the pot upside down, supporting the plant with one hand while tapping the base of the pot with the other. If the plant is stubborn, you can use a trowel to carefully loosen the edges.
Step 4: Inspect the Roots
Once the mint is out of its pot, take a moment to inspect the roots. If you notice any that are brown or mushy, trim them away with clean scissors. Healthy roots should be white and firm.
Step 5: Plant the Mint in Its New Home
Make a hole in the center of the new pot’s soil, deep enough to accommodate the root ball. Place the mint in the hole, ensuring that it sits at the same depth as it did in the previous pot. Fill in around the roots with soil and gently pat it down.
Step 6: Water Thoroughly
After transplanting, give your mint a good watering. This helps settle the soil around the roots and provides hydration to your plant. Make sure the excess water drains out of the bottom.
Step 7: Place in a Suitable Location
Mint loves partial shade to full sun. Ideally, find a spot where it gets at least 4-6 hours of sunlight daily. If you’re moving your mint indoors, place it near a sunny window.
Step 8: Care for Your Transplanted Mint
Monitor your mint over the next few weeks. Water it regularly but avoid overwatering. Allow the top inch of soil to dry out before watering again.
Different Ways to Transplant Mint
There are various methods for transplanting mint, depending on your preferences and the situation. Here are a few options:
1. Transplanting from Pot to Ground
If you want to move your mint from a pot to your garden, follow these steps:
- Choose a spot with well-draining soil and ample sunlight.
- Prepare the planting area by removing weeds and debris.
- Follow the steps above for removing the mint from its pot and planting it in the ground.
2. Division Method
If your mint is thriving in its pot, you can propagate it by division:
- Carefully remove the mint from its pot.
- Use a sharp knife to cut the root ball into sections, ensuring each section has at least a few stems.
- Transplant each section into new pots or directly into the garden.
3. Water Propagation
You can also propagate mint in water:
- Cut healthy mint stems, ensuring each has several leaves.
- Place the cuttings in a glass of water, keeping the leaves above the water line.
- Change the water every few days. Once roots develop, transplant them into soil.
Caring for Transplanted Mint
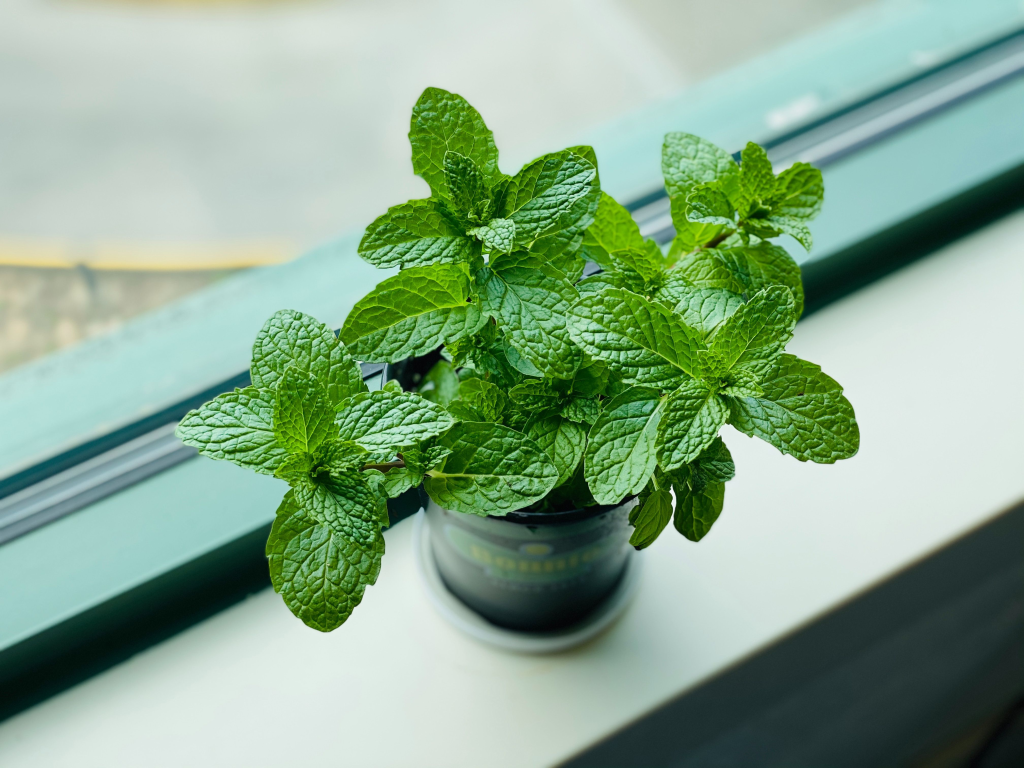
After transplanting mint, it’s crucial to provide the right care. Here are some tips to keep your mint healthy and flourishing:
Watering
Mint likes moisture, so keep the soil consistently damp but not soggy. Watering in the early morning is ideal, as it allows the plant to absorb moisture before the heat of the day.
Fertilizing
Mint benefits from regular feeding. Use a balanced liquid fertilizer every four to six weeks during the growing season. You can also enrich the soil with compost or worm castings, which can improve growth. For more on how to use worm castings, check out our detailed article on the topic.
Pruning
Regular pruning encourages bushier growth and prevents the plant from becoming leggy. Trim back stems regularly, especially before the plant flowers. This can help maintain flavor and vigor.
Pest Management
Mint is generally pest-resistant, but keep an eye out for common pests like aphids and spider mites. If you notice any, use insecticidal soap or neem oil to treat your mint.
Internal Links
If you’re interested in common garden pests that could affect your mint, visit our article on common garden pests to learn more about what to look out for and how to manage them effectively.
Companion Plants for Mint
When thinking about how to transplant mint, consider companion planting. Some plants grow well with mint and can even help deter pests. Here are some great options:
- Cabbage: Mint can help repel cabbage moths, making it a great companion.
- Tomatoes: The scent of mint can ward off pests that attack tomatoes.
- Carrots: Mint can improve the growth and flavor of carrots.
However, avoid planting mint with plants like basil, as they may compete for nutrients.
Troubleshooting Transplanted Mint
Despite your best efforts, you might encounter issues with your transplanted mint. Here are some common problems and solutions:
Yellowing Leaves
If your mint’s leaves are turning yellow, this could indicate overwatering or nutrient deficiency. Check the soil’s moisture level; if it’s soggy, reduce watering. You may also want to consider a balanced fertilizer to replenish nutrients.
Wilting
Wilting can happen due to underwatering or transplant shock. Ensure your mint is watered properly and allow it to acclimate to its new environment. If the soil is dry, give it a good drink, and try to maintain a consistent watering schedule.
Stunted Growth
If your mint is growing slowly after transplanting mint, it might need more light or nutrients. Ensure it receives adequate sunlight (4-6 hours daily) and consider using a balanced fertilizer to stimulate growth.
Common Diseases and Issues
Mint can sometimes face diseases or issues that you should be aware of when transplanting mint:
Downy Mildew
This fungal disease appears as white or gray patches on the leaves. Ensure proper air circulation and avoid overhead watering to prevent it.
Root Rot
Overwatering can lead to root rot, causing the plant to wilt and turn yellow. Make sure your pot has drainage holes and avoid letting the plant sit in water.
Spider Mites
These pests can cause discoloration and webbing on leaves. Increase humidity around the plant and treat with insecticidal soap if needed.
Conclusion
Transplanting mint doesn’t have to be a chore. With the right steps and care, you can enjoy a bountiful harvest of fresh mint leaves for your culinary adventures. By understanding when to transplant mint, how to choose the right pot, and the best practices for care, you’re setting yourself up for success. So, roll up your sleeves, grab your gardening gloves, and get ready to dive into the world of mint!
As you embark on your mint-growing journey, remember to check out related articles on topics like how to grow basil in a pot and when to harvest garlic scapes to enrich your gardening knowledge. Happy gardening!









Leave a Reply